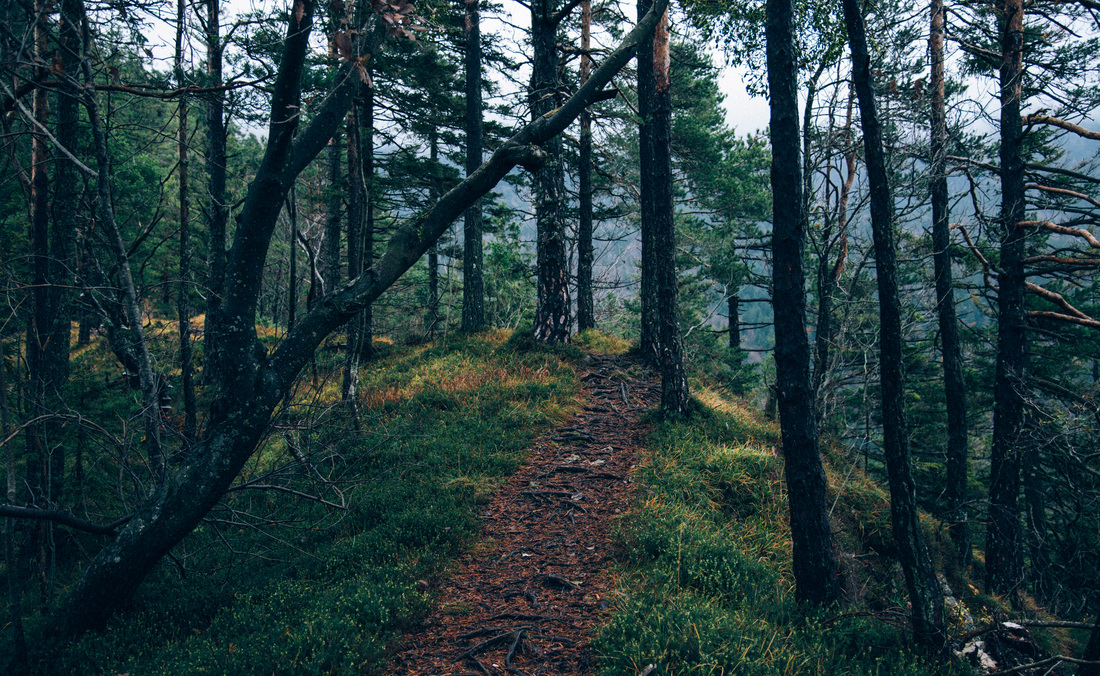
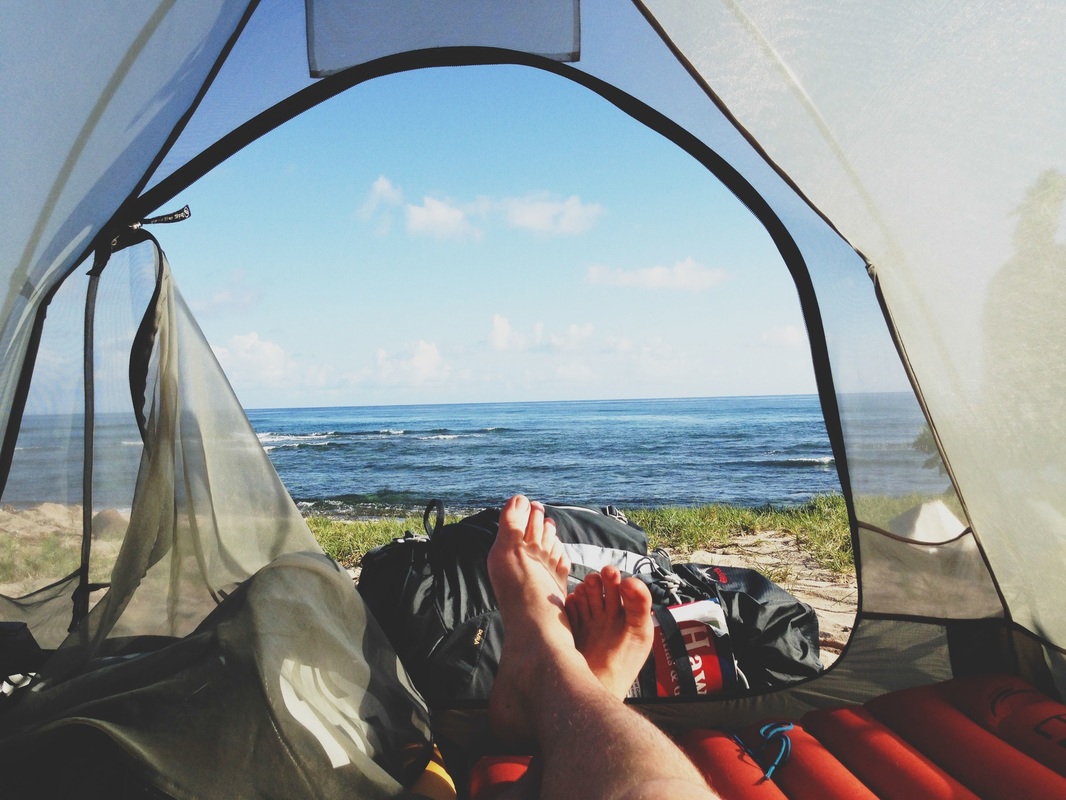
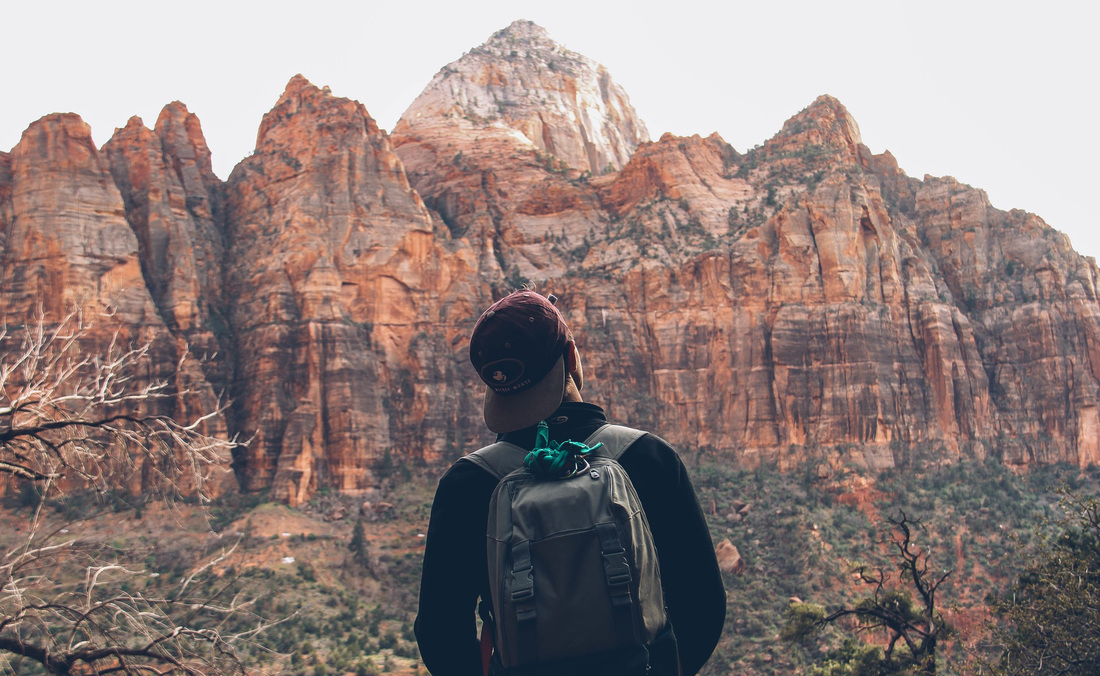
I'm James. This is my year of travel.

Affinity Photo then makes initial stitch of the panorama and opens the panorama interface. When you’re happy with the initial stitching, click the OK button to render the panorama. If you find one of the images is a problem, you can click the “Remove” button to discard it. By unchecking an image, you can test the result. This is useful if you find the stitching isn’t working properly because you think there may be too much overlap between images. You can use this to temporarily deselect it from the panorama stitching. You should also notice each image you selected for stitching has a checkbox to the right of it. The thumbnail then appears on the right of the dialog. To create an initial thumbnail of the Panorama, click the “Stitch Panorama” button (number 2). When you select and add an image it appears in the list on the left of the New Panorama dialog. Here you can select one or more images for stitching. 
When the New Panorama dialog opens, click the Add button (number 1). Once inside Affinity Photo, select the option in the File menu to create a “New Panorama”. With the frames for stitching edited, it’s time to fire up Affinity Photo. I also selected a wide colour space (Adobe RGB) as this can handle a wider range of colours when editing. I selected the 16-bit TIFF format as this can withstand editing in Affinity Photo better than the 8-bit option. In this example I chose to export the image files from Capture One as TIFF files. The best approach and file format will depend on your choice of RAW editor. Now you have the frames for stitching matching each other closely, you can export them to image files. 
By improving the blending between the frames, the stitched panorama will appear more natural, resulting in a higher quality image. When you make the frames look the same, you help the panorama stitching software to blend them. I can reduce the exposure for the other frame to bring it into line. In this example the key image frame is obviously darker than the other. If you notice obvious differences you should adjust the colours and/or exposure to bring them into line. Check this by displaying the two images side by side on the screen. The two images now look similar in terms of colour and exposure. Other RAW converters like Lightroom may have a feature to synchronise the adjustments across all selected images. In Capture One you can do this by copying the adjustments to the Adjustment Clipboard, selecting the other image(s) and then pasting them. Once you have your key frame looking good it’s a matter of applying the same adjustments to the other frames in your panorama. After this I refine the exposure for the image by opening the shadows and reducing the highlights. I’m also applying a new film curve (this is like a camera profile in Lightroom) before adjusting the colour temperature of the image. You might not find this for the images you’re stitching but it’s worth testing which gives the best results. 
The stitching process in Affinity Photo appears to handle the image better without the distortion correction. I shot the image using a Fuji 16-80 lens which has quite a lot of distortion. In this example I started by removing the lens distortion correction. I switched to Capture One as my RAW developer of choice for Fuji RAW files around 6 months ago and I’m very impressed by the results. Although Affinity Photo contains an excellent RAW converter, I’ve chosen to develop this image using Capture One.
0 Comments
Leave a Reply. |
AuthorWrite something about yourself. No need to be fancy, just an overview. ArchivesCategories |
 RSS Feed
